兵人在线BBICN

 找回密码
 注册
搜索
☆ 三游酷玩 (17年老字号诚信模玩店)
★ 犹大模玩 - 【雕像专营形象店】
☆ 呼和浩特 呼市兵人HOBBY CASTLE
★ 香菜模玩(皮皮虾模玩店)
☆ 北京 Easytoys国贸旮旯玩具店
★ 广告位 -------------- 空缺中
☆ 广州 优之兵模 兵人专卖店
★ 广告位 -------------- 空缺中
★ 广州 专业兵模玩具店-【主营批发】
★ 广告位 -------------- 空缺中
★ PJ玩具铺仓储批发店- 【主营批发】
★ 广告位 -------------- 空缺中
☆ 武汉 藏影兵人沙龙
★ 广告位 -------------- 空缺中
☆ 天津 神秘博物馆 实体店
☆ 御车族-福州兵人模型店皇冠金牌店
查看: 24107|回复: 93

【参考】老外教程:自制锁子甲-流程(英翻中)

  [复制链接]
发表于 2010-6-16 10:24 | 显示全部楼层 |阅读模式
BBICN 上海旗舰淘宝店
作者:Private Mc LEOD  

TOOLS
Here we go.
First you need tools. Not much, not expensive (well, except the magnifying lamp…).
- a glass panel to work on
- tweezers (with a 45°angle tip)
- a metal rod (diameter : 1.5mm)
- galvanized wire (diameter : 0.3mm)
- cutter knife (large blade)
- a cork
- a piece of thicker wire (diameter is not really important as long as it’s thinner then a millimeter)
- a small box to store the links


001.jpg

a MAGNIFYING LAMP (unless you want to be blind at the end of this tutorial) !

002.jpg

And of course, the best tool ever done: fingers with nails.

003.jpg


##################################################

以下中文有CR雪MM热心翻译

全文如下,请各自对行入座。

工具
我们开始吧。
首先你需要工具。不多,也不贵(除了放大镜灯…)
--一块制作时用的玻璃板
--镊子(有一个45°的镊尖)
--一根金属杆(直径15mm)
--电线(直径 0.3mm)
--刻刀(刀口大)
--一个软木塞
--一段粗一点的线(直径不是很重要,只要它粗过1mm就可以了)
--一个小盒子用来放链圈

一个放大镜灯(除非你想要在这个制作完后瞎掉)

当然了,最好的工具—有指甲的手指

做一个弹簧
首先,你需要做一个弹簧。把0.3mm的线卷到金属杆上,弹簧的长度一点也不重要,我的是8cm长的(250个链子的长度)

做好了,就把线剪掉。

做链圈
现在,你需要用刻刀把每一个顶上的弹簧圈割下来。
这个过程第一次可能不是很顺利。但是在经过练习之后(弹簧需要足够)就不是什么大问题了(虽然还是会很无聊)。

现在你有了上百个完美的用来被安装的链圈。

基本处理
在之后的步骤前,我觉得有必要向你们展示一下操纵链圈的最佳手势。
1-        拿出一个链子
2-        把你的手指按上去(中指最好)
3-        如果你是人类皮肤的话,链圈就会黏在你手指上
4-        用大拇指固定住它
5-        用你另外一只拿着镊子的手夹起链子右部
6-        用你的大拇指和中指夹住左边然后做你该对链圈做的事:打开(分开顶端)或是关上(连住顶端)

完成初步构造
现在你已经掌握了基本处理,就开始处理链圈了
一开始的处理可能是个噩梦,因为链圈在构造好之前很容易变成一团糟。好消息是我发现了一个方法可以对此有很大帮助。第二个好消息是你一辈子只要干一次这个事情就好了。只要你做了一次,之后都可以拿来当基底。
开始关上一些链圈(至少12个)

然后,把粗线插到软木塞里,穿入关上的链圈(我为了更好的展示用了大约30个)

最后,把粗线的另一头也插进软木塞,像这样。

现在,把链圈和另一个连接起来,为了完成这个,你需要用到基本处理里的打开链圈。

把邻近的链圈勾起来。

然后关上链圈。

过不了一会,你就会有两行链圈。它们是一团糟,但是不用担心,你只需要把金属杆拧一下就能完美地排列好它们。

把它们排好对第三行很必要。小心地完成这个过程不然的话会乱掉,以后你就要花更多的时间来解决问题。

当第三行完成后你就完成了最难的部分,接下来你要做的就是一行一行地摆…

当有足够多的行(比图示的要多)时我就会用一个把手。我把它钻穿出几个小洞,把电线穿过去就好啦

现在,如果你喜欢做这些,你就可以做一副锁子甲了。为了完成这个,你需要了解更多有关锁子甲的构造。我用这个教程学习更高级的技术,它是法文的,但是光图片就能很有帮助。


上一篇:[原创]制作洛克手枪(有过程),两把不锈钢折刀(一蜘蛛)
下一篇:问个白痴问题-请问油泥做好的模型,能直接上色吗
 楼主| 发表于 2010-6-16 10:25 | 显示全部楼层
MAKING A SPRING
First, you need to make a spring. Coil up the 0.3mm wire around the metal rode. The length of the spring is not important at all. Mine are around 8cm long (which is about 250 links).


When it’s done, cut the wire

我要说一句 收起回复
 楼主| 发表于 2010-6-16 10:26 | 显示全部楼层
MAKING LINKS
Now, you need to cut each spire of the spring using the cutter knife.
This operation might seem tricky the first time. But with a bit of practice (a spring should be enough) this won’t be a problem anymore (though it will remain boring!)


Now, you have hundreds of perfect links ready to be assembled.

我要说一句 收起回复
WORLD BOX
 楼主| 发表于 2010-6-16 10:26 | 显示全部楼层
BASIC MANIPULATION
Before going further, I found necessary to show you what is the best gesture to manipulate links.
1 – Spot an isolated link


2- Press your finger on it (middle finger is the best)


3 – If you have a human skin, the link should stick on it


4 – Secure it with your thumb


5 – With your other hand armed with tweezers, pinch the right side of the link


6 – Now pinch the left side between your thumb and middle finger and do what you need to do with the link : open it (separate the two tips) or close it (join the two tips)
我要说一句 收起回复
 楼主| 发表于 2010-6-16 10:27 | 显示全部楼层
DOING THE MAIL STRUCTURE
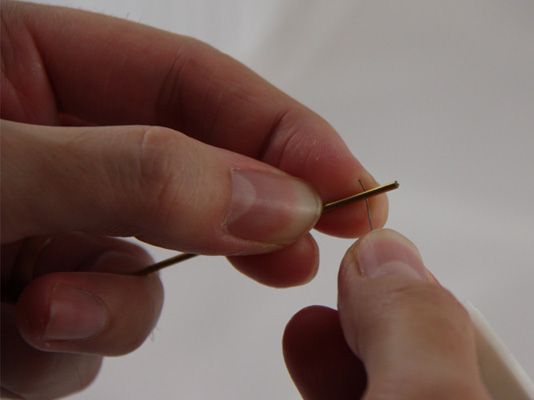
Now that you master the basic manipulation, you are ready to assemble links.
The beginning of the assembling can be a nightmare because the links have a tendency to mess up all the time before the mail structure is done. The good news is that I found a technique which helps a lot. The second good news is that you’ll do this only one time in your life. In fact, once a mail structure is done you can use it as a base all the time.

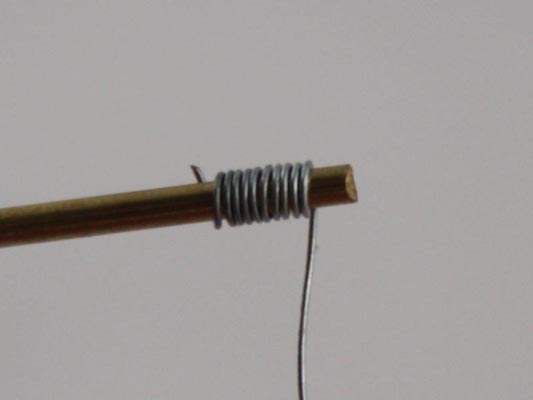
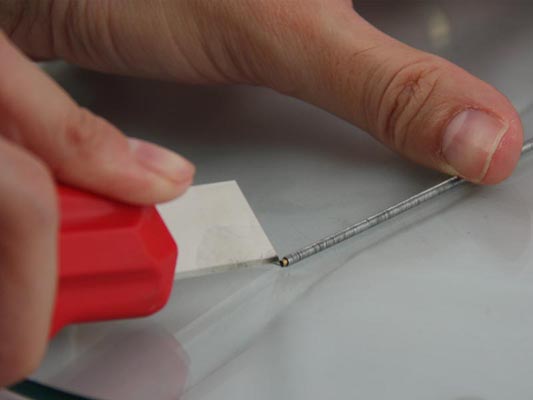
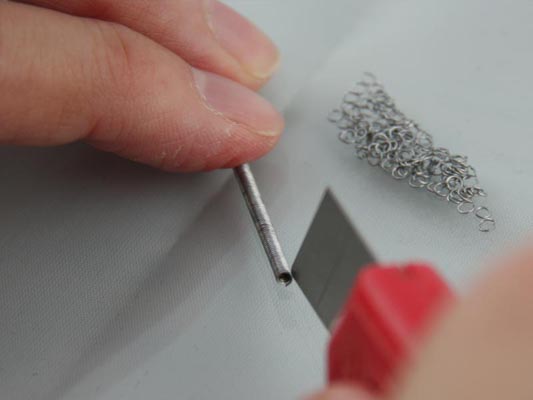
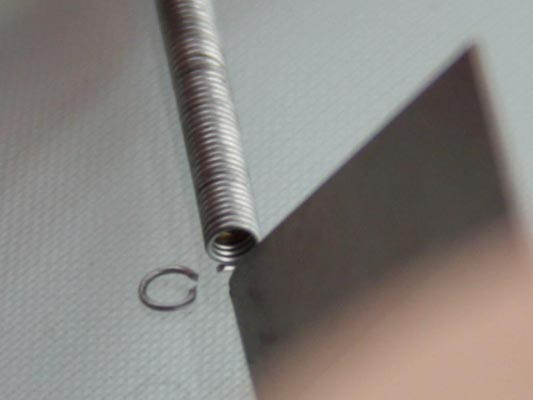
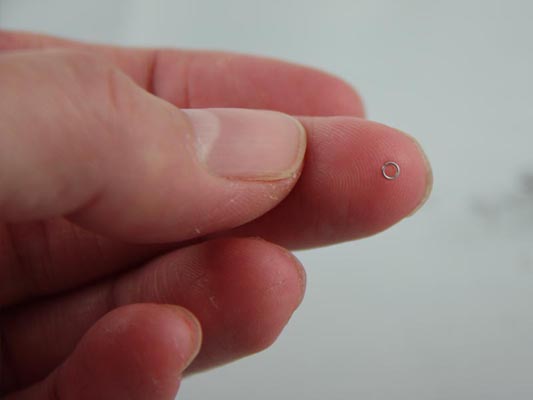
Start to CLOSE a few links (at least a dozen)


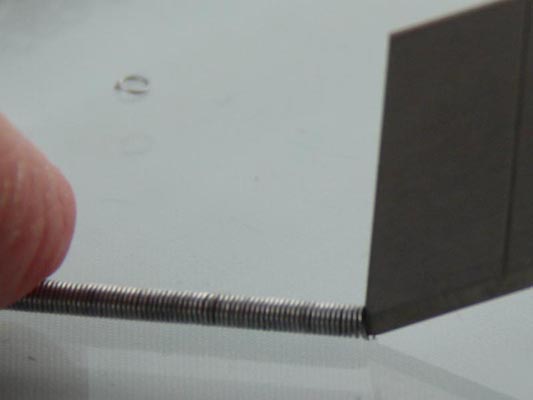
Then, stick a thicker wire in a cork and stack up the closed links (I used about 30 links on the picture for a better demonstration)


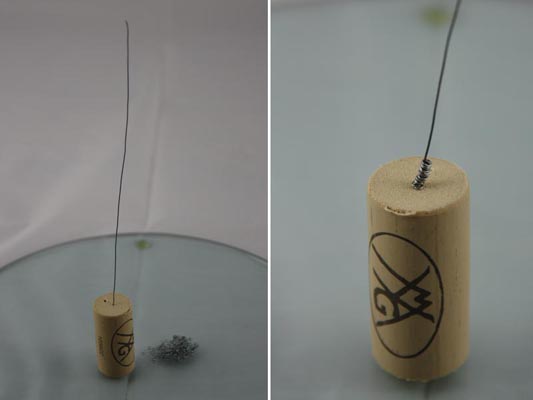
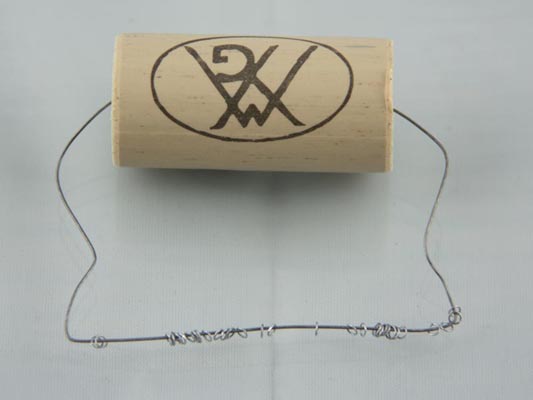
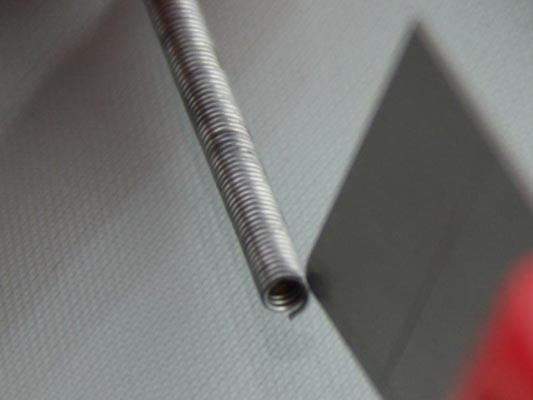
Finally, stick the other end of the wire in the cork this way


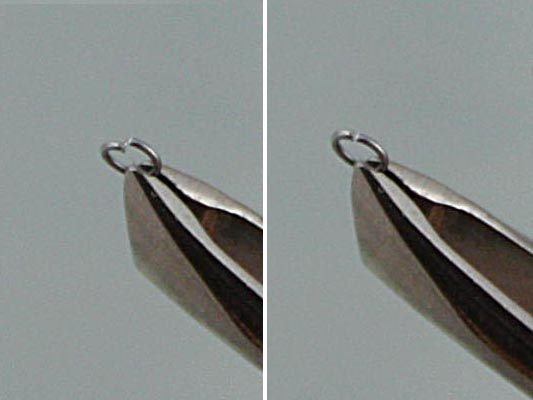
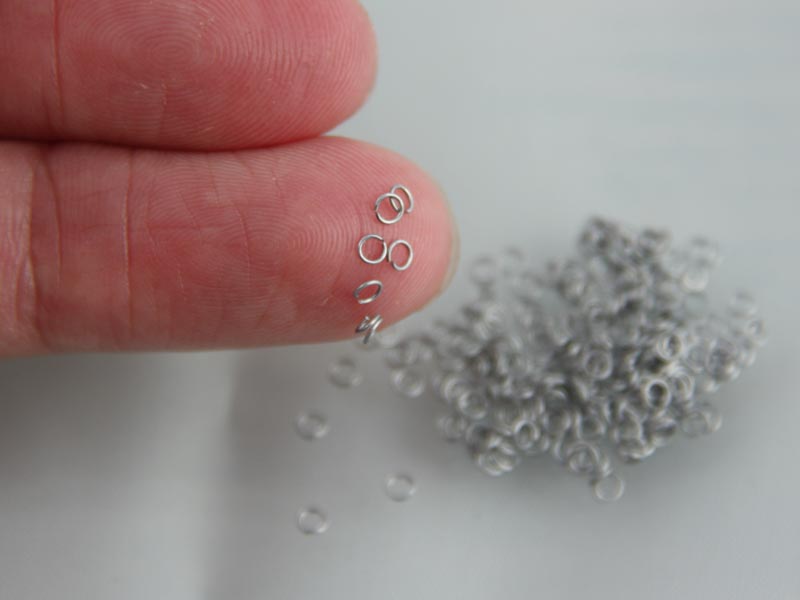
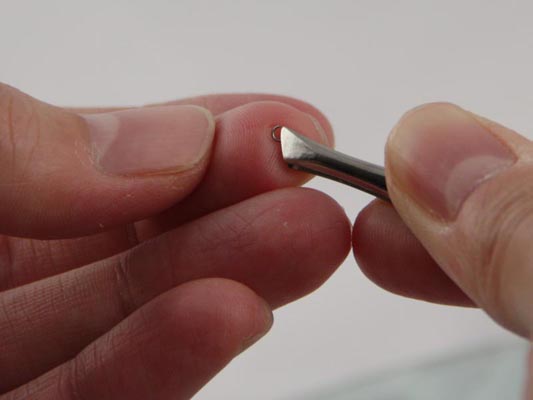
Now, start to connect each link with another link. To achieve this, you’ll need to perform the basic manipulation and OPEN the links this time.


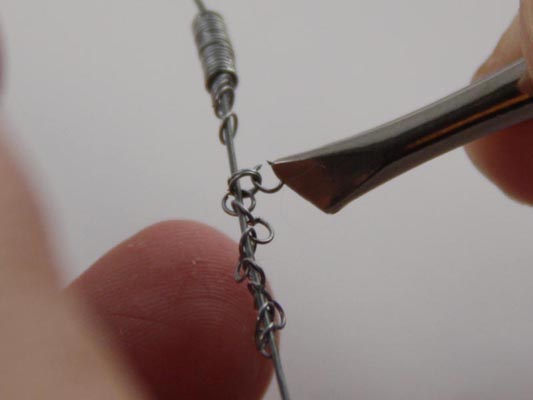
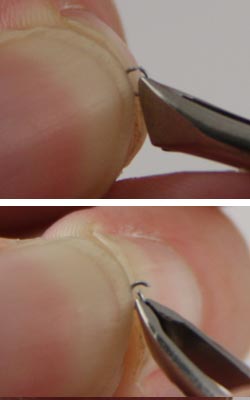
Hook up two contiguous links
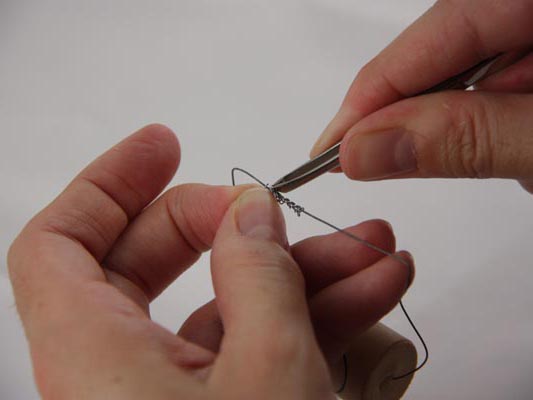
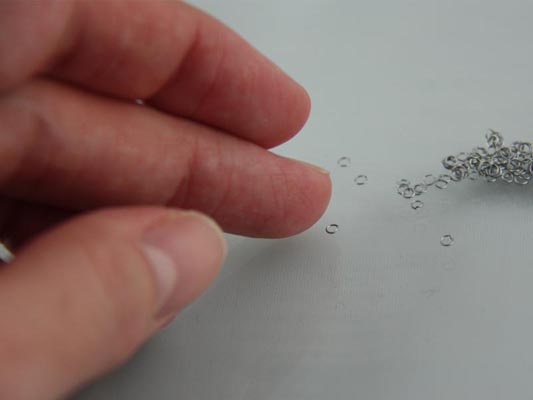

Then close the link


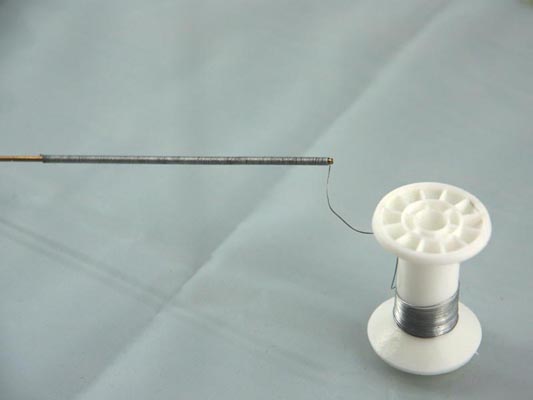
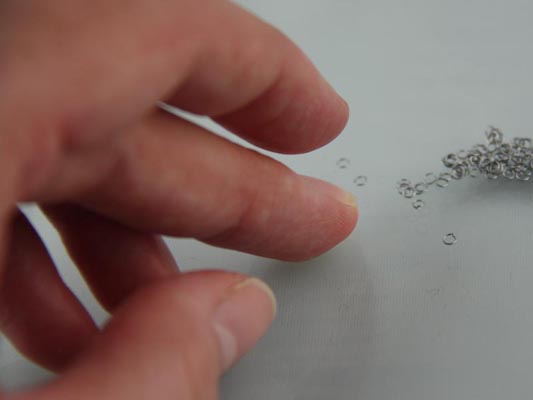
After a while, you should obtain two rows of links. They’re all messed but don’t worry, you just have to twist it around the rod to align them perfectly.


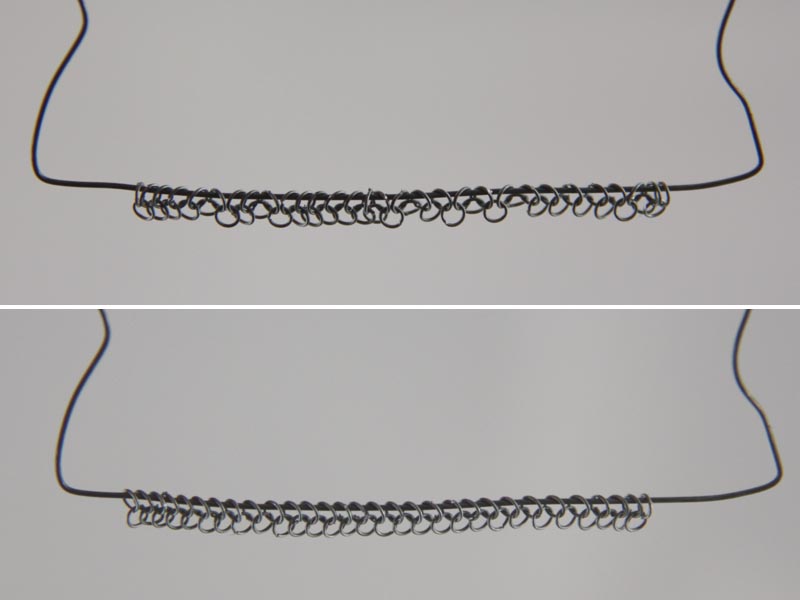
Aligning them correctly is necessary for the third row. Progress carefully during this operation or your mail will be incoherent and you’ll lose much more time to fix the problems.


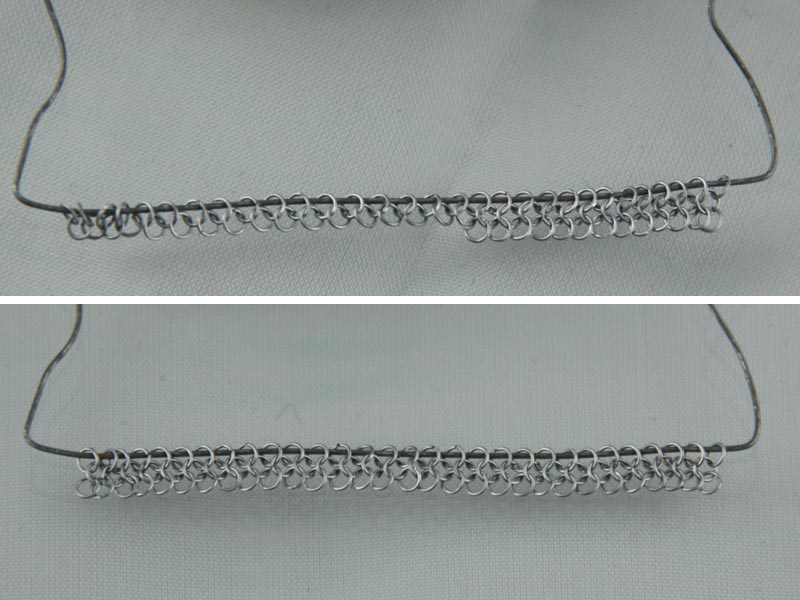
When the third row is finished you’ve done the most difficult. Now your mail is structured and you “only” have to proceed to the next row, again, and again, and again…

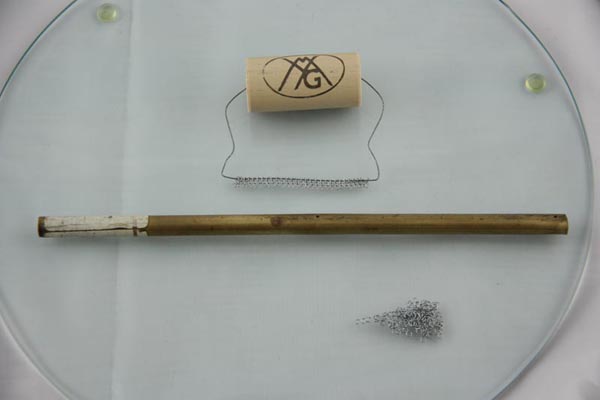
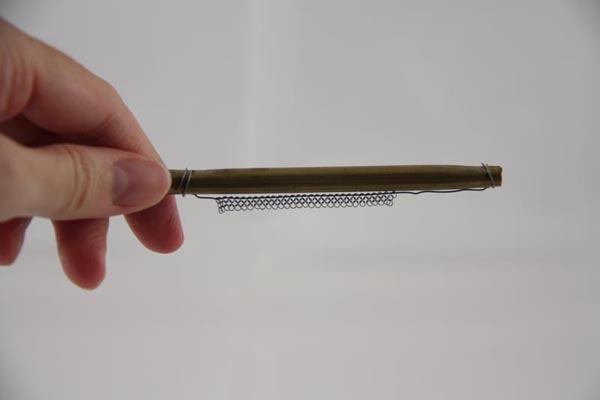
Something I do when there are sufficient rows (more than on the picture below) is using a handle. I drilled to holes in a hollow cylinder, thread the wire in them and voilà !


Now, if you enjoyed doing this, you are ready to do a piece of mail armour. To achieve this, you’ll need more knowledge about the mail assembling. I used this tutorial to learn advanced techniques. This is in French but the pics are really helpfull.

#########################

http://theringlord.com/cart/shop ... sess=58753552777700
一些锁子甲的编织方式参考
我要说一句 收起回复
 楼主| 发表于 2010-6-16 10:33 | 显示全部楼层


我要说一句 收起回复
 楼主| 发表于 2010-6-16 10:35 | 显示全部楼层
发表于 2010-6-16 10:39 | 显示全部楼层
简直是一种酷刑啊![16] 太有耐心了!
我要说一句 收起回复
发表于 2010-6-16 10:41 | 显示全部楼层
太强悍了
我要说一句 收起回复
发表于 2010-6-16 10:44 | 显示全部楼层
修长城啊
我要说一句 收起回复
您需要登录后才可以回帖 登录 | 注册

本版积分规则

手机版|小黑屋|Archiver|bbs.bbicn.com ( 粤ICP备20066041号 )

GMT+8, 2024-4-20 07:55 , Processed in 0.184385 second(s), 30 queries .

Powered by Discuz! X3.4

Copyright © 2001-2020, Tencent Cloud.

快速回复 返回顶部 返回列表